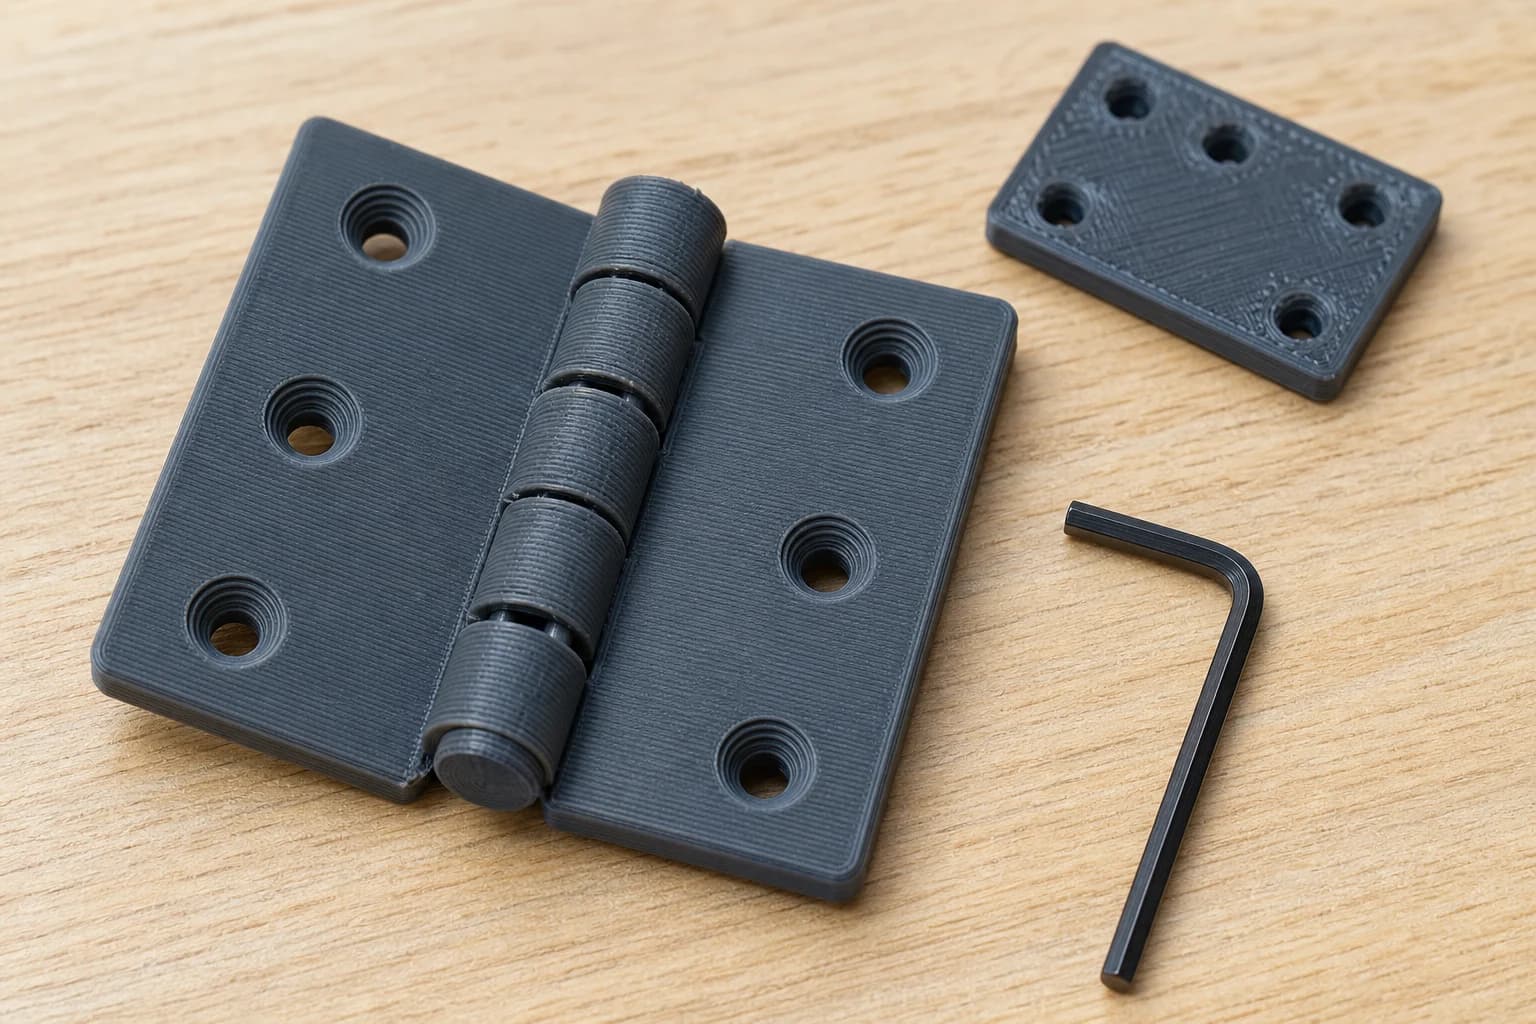
Model application study
A print-in-place hinge for a small workshop enclosure
How a five-knuckle PETG hinge prints as one assembled part by turning the pin axis upright and designing in working clearance.
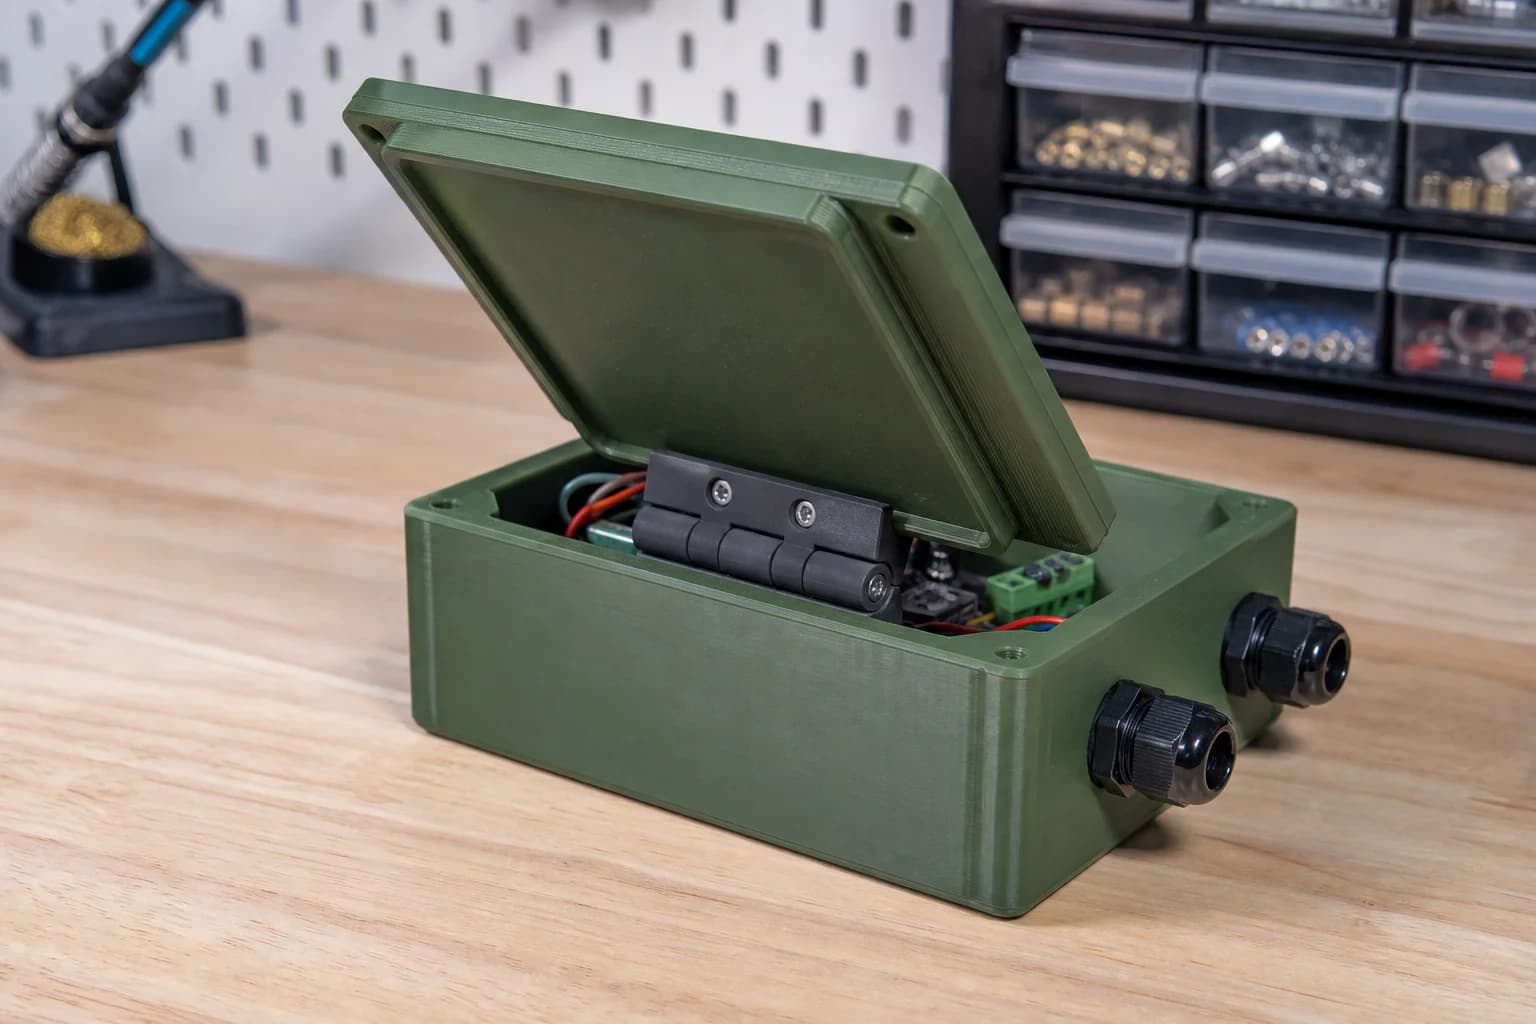
The application
A small electronics enclosure needs a simple hinge without sourcing a pin or aligning several separately printed knuckles. Printing the pin and leaves together is useful only if the bore does not sag onto the pin and the first layers can be freed without breaking the part.
Constraints
- The integrated 6mm pin and its bore need clearance on every side while remaining well located after release.
- Separate knuckles must not fuse permanently where one begins above the previous one.
- The tall print has to stand on narrow leaf edges without falling over.
Process
01
Turn the axis upright
Standing the hinge on end turns the pin, bore and leaves into vertical extrusions, avoiding a horizontal-hole roof over the pin.
02
Allow it to release
The design leaves 0.35mm radial clearance around the pin and 0.4mm between knuckles. A firm first twist breaks the small layer contacts.
03
Stabilise the print
The leaves start 90° apart and a brim supports their narrow bed contact. PETG gives the knuckles more tolerance of repeated movement than PLA.
Design outcome
The downloaded model comes off the bed as one five-knuckle assembly. Once released, it can be screwed to a light enclosure without inserting a separate pin, while its built-in stops define the useful swing.
- Overall axis length
- 62mm
- Barrel / pin
- 16 / 6mm
- Leaf size
- 40mm long, 4mm plate
- Working clearances
- 0.35mm radial, 0.4mm axial